Integrating a headless CMS with Vue Storefront 2
Published · 6 min read

With the recent rise of composable commerce, integrating headless CMSes into e-commerce websites is becoming increasingly common. One such tool which makes this incredibly straight forward, is Vue Storefront 2.
For those of you who are new to it, Vue Storefront 2 is the latest version of Vue Storefront, which is a platform-agnostic PWA framework for creating e-commerce websites.
In this post we’re going to walk you through how to integrate a headless CMS (specifically LexasCMS 😉) with Vue Storefront 2.
Tutorial
So enough with the preamble, let’s get straight to it! 🚀
In this tutorial we're going to take a freshly generated Vue Storefront 2 project, and replace the homepage hero banner with one that is managed by your headless CMS (in this case LexasCMS).
Pre-requisites
Before getting started with the tutorial, it is recommended that you have the following:
- Basic knowledge of Vue.js and Nuxt.js
- Node.js v14 or higher installed
- Yarn installed
- A LexasCMS account - Click here to start free trial
Step 1: Create a new space on LexasCMS
Sign in to your LexasCMS account, and then either create a new organisation or navigate into an existing one.
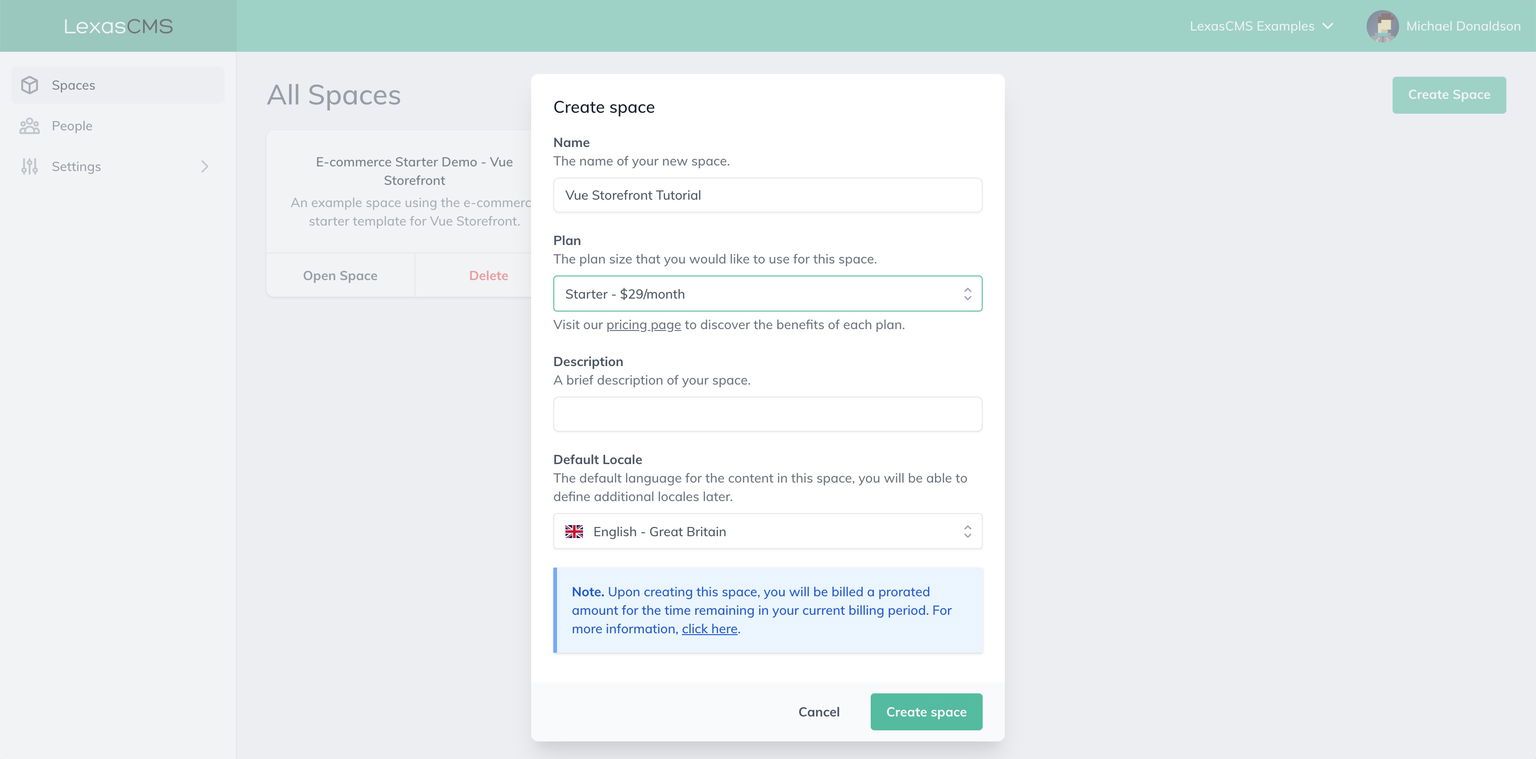
From within your organisation, create a new space by clicking on the Create Space button and filling out the required information (any plan type will work fine).
Once your new space has been created, open it, and you will be presented with a Select Starter Template modal.
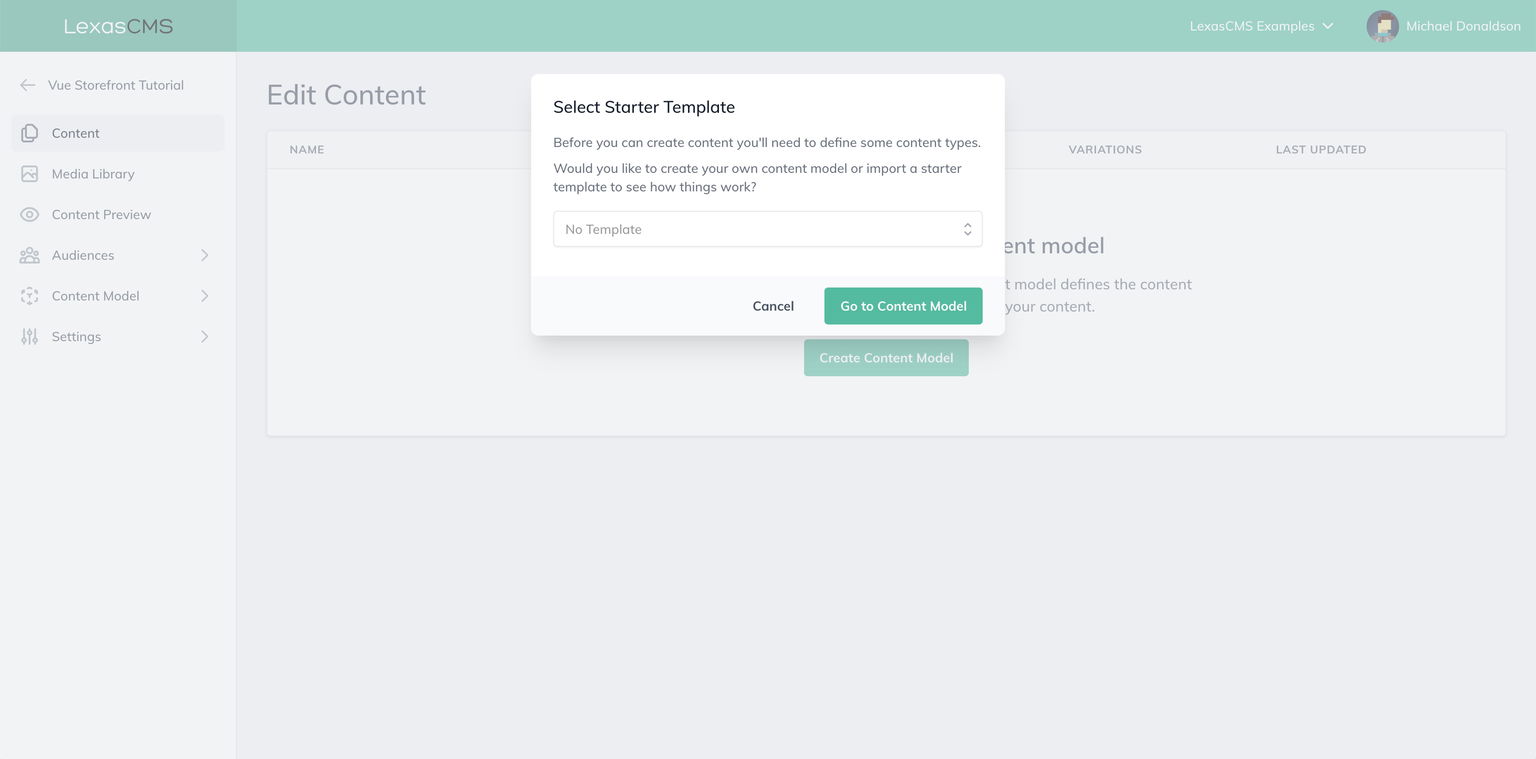
From the modal, select the 'E-commerce Tutorial (Vue Storefront)' template, and then click the Import Template button.
This template will automatically create the content types and sample content which will be needed for this tutorial.
Step 2: Create a new Vue Storefront 2 project
We'll be using the Vue Storefront CLI to generate a new project. If you don't already have this installed, you can install it by running the following command in your terminal:
yarn global add @vue-storefront/cli
Now, generate a new Vue Storefront 2 project using the command below:
Note: When prompted to choose an integration, just select commercetools.
vsf init lexascms-tutorial
This command will create a new lexascms-tutorial directory which will contain the code for your new project.
Once it has finished, navigate into the new project directory and install your projects dependencies:
cd lexascms-tutorial
yarn install
After your projects dependencies are installed, start your development server using the command shown below:
yarn run dev
Once your development server is up and running, navigate to http://localhost:3000 in your web browser and you should see something like the below screenshot.

Step 3: Install LexasCMS integration
Before content can be retrieved from your headless CMS, you'll need to install and configure the Vue Storefront integration of your chosen CMS (in this case LexasCMS).
To install the LexasCMS integration for Vue Storefront, run the following command:
yarn add vsf-lexascms
Once the installation has finished, register the vsf-lexascms integration in your projects nuxt.config.js file as follows:
export default {
  // ...

  buildModules: [
    // ...

    ['vsf-lexascms/nuxt']
  ]

  // ...
};
Next, open the middleware.config.js file in the root of your project and add the following configuration:
Note: Be sure to replace YOUR_SPACE_ID with your actual space ID, which can be found in the Settings > General section of your space control panel.
module.exports = {
  integrations: {
    // ...

    lexascms: {
      location: 'vsf-lexascms/server',
      configuration: {
        spaceId: 'YOUR_SPACE_ID'
      }
    }
  }
};
Now that the integration has been installed and configured, content can be retrieved using the useContent composable. Before we make any changes to our homepage, let's take a look at how it works.
The useContent composable is imported directly from your CMS integration like so:
import { useContent } from 'vsf-lexascms';
The composable then provides access to a search function, and three other properties: content, loading and error.
const { search, content, loading, error } = useContent();
- search is a function and is used for retrieving content from your CMS (in this case LexasCMS)
- content, loading and error are all computed properties which are populated by the search function
- content contains the content which was retrieved by the search function
- loading is a boolean which communicates whether the search function is currently running or not
- error is null unless an error is thrown by the search function, in which case this contains the error message
Usage of the search function will vary depending on the CMS that you're integrating with. However, you can find the full documentation for the LexasCMS integration here.
Step 4: Update homepage
Now that you've seen how the useContent composable works, let's use it to fetch the content for your homepage's hero banner.
Start by opening the pages/Home.vue file in your project, and adding the below import statements.
You'll notice that we're also importing the onSSR helper function from Vue Storefront. We'll use this to ensure that content is only fetched during server-side rendering.
<script>
// ...
import { onSSR } from '@vue-storefront/core';
import { useContent } from 'vsf-lexascms';

export default {
  // ...
}
</script>
Next, add the following code to the bottom of the setup function, just before the return statement.
These changes use the useContent composable and the onSSR helper to retrieve all of the promo banners from LexasCMS. These are then made available to the promoBanners variable, which we'll return to the template in the next step.
<script>
// ...

export default {

  setup() {
    // ...

    const { content: promoBanners, search } = useContent();

    onSSR(async () => {
      await search({
        type: 'collection',
        contentType: 'promoBanner',
        params: {
          include: 'backgroundImage'
        }
      });
    });

    // ...
  },

}
</script>
Once the promo banners have been retrieved, add the promoBanners variable to the setup functions return statement.
This will make the promo banners available for use in your template.
<script>
// ...

export default {

  setup() {
    // ...

    return {
      // ...
      promoBanners
    }
  },

}
</script>
Now all that's left, is to display the promo banners!
Scroll back to the top of the pages/Home.vue file and replace the current usage of the SfHero component so that it looks as follows:
<template>
  <div id="home">
    <LazyHydrate when-idle>
      <SfHero class="hero">
        <SfHeroItem
          v-for="promoBanner in promoBanners"
          :key="promoBanner.id"
          :title="promoBanner.heading"
          :subtitle="promoBanner.subHeading"
          :button-text="promoBanner.buttonText"
          :image="promoBanner.backgroundImage.url"
        />
      </SfHero>
    </LazyHydrate>

    <!-- ... -->
  </div>
</template>
This will loop through the promoBanners variable from the previous step, and render each of the retrieved promo banners using the SfHeroItem component from Storefront UI.
Restart your development server and navigate to http://localhost:3000 in your web browser.
You should see that the homepage hero banner is now being powered by your CMS content.
Congratulations! You successfully integrated a headless CMS into a Vue Storefront 2 project 🎉.
Live demo and GitHub repo
A live demo of this tutorial as well as its source code can be found using the links below:
Live demo: https://lexascms-tutorial-vuestorefront2.vercel.app
Source code: https://github.com/LexasCMS/tutorial-vuestorefront2
Summary
In this tutorial, you have learned how simple it is to fetch content from a headless CMS using the useContent composable in Vue Storefront 2.
In future posts we'll show you how to take things further and implement features such as personalised content and visual previews using LexasCMS.
Thanks for reading! 🤘
Want to see more articles like this?
Subscribe to our mailing list to be kept up to date with our latest content.
Michael Donaldson


